Thursday, March 29, 2012

perks of the job, primaries and wheels

Pete's cam cover showed up for his 40 motor today. It came packed with a couple of old shirts to prevent it from getting scratched.
oh cool the shirts kind of fit. they don't look as good as the cam cover and Pete's 40 cases.

Dan and I laced up a bunch of wheels yesterday. the shiny set is for Pete's 46, and the other ones are for original paint or funky bikes. We are going to do another batch in april for two sidecar bikes! which is nuts.
I know it is kind of over kill to paint the inside of the 65 primaries with Dolph's er44, but I like overkilling things.
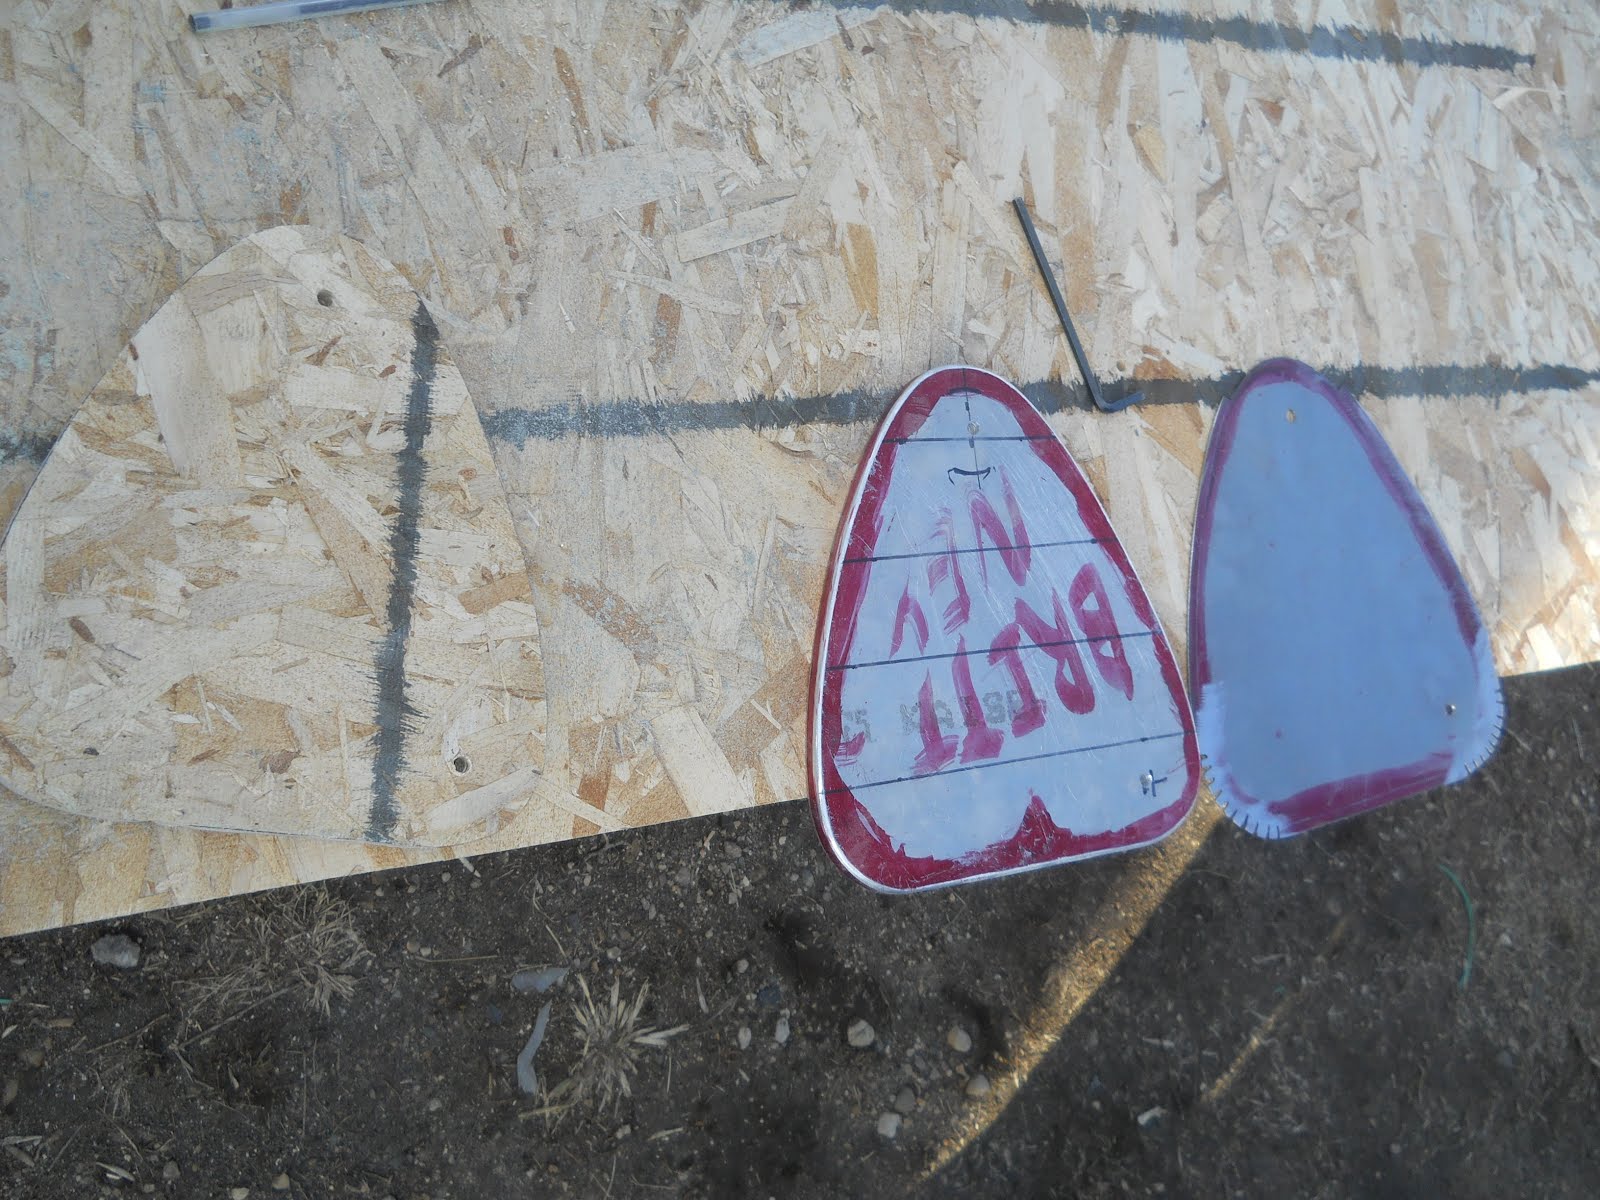
Here are all the parts that we are sorting out for the 38 clutch and the 45 wl clutch set ups.
Here is the motor/ trans mount for Doug's 39 it has the big numbers still and the early wrap around reinforcement with smooth seat post. later 39s had the small numbers, later wrap around reinforcement and a relief for the big 74inch motor that was supposed to come out in 40 but didn't meet the deadline.
These wheels are for our 40 el and Delmar's 45 EL. They are kind of funky, but will look nice once the bikes are together.

Monday, March 19, 2012

st patricks day photos

Here is a neat picture of two rivets. the one on the left is a standard available rivet. the one on the right is a rivet that started out looking the same as the one on the left but had the radius re cut and reformed.

Here is one fresh out of the machine. these rivets are for 36 to 49 fishtails. I couldn't find the right one, so Delmar wrote up a program on the Lynx and I re cut the heads on a bunch of them


Here they are!


This is a cool project that we have been working on for a while. This is a brake backing plate for springers that will accept hydra glide shoes and brake drum which are an inch bigger than stock springer brakes. This is still in the prototyping stage, when we finally make them, they will be steel.

Here is a side by side comparison. Pretty cool stuff.


This is a ground piece of .250 plate for making a fixture.


This is the same plate.


and all finished up. This is for locating different coordinates on a 36 to 69 cam cover and cases. It would take a couple pages of typing to describe it's purpose and capabilities. Basically this plate could rule the world.


Here is a cute little drill bushing before hardening. We hardened it to 50 Rockwell c


This is a handy drill fixture for drilling the two holes in the fishtails for the mufflers that we are working on.


Here it is in action!!!

This is my friend Pete's case. The cam area was badly spider webbed and cracked. We sent it out to our friend M. in New Jersey and he welded in a plate and re punched the hole. IT turned out very nice.


Friday, March 16, 2012

bf 47, pm37 and bucks

I spent yesterday and this morning welding up Paul's 37 frame. it is getting pretty close and should be ready for metal finishing by the end of the day.


Here is a picture of the dangerous dog and the guard cat. Our mail man is afraid of Duke.


Here is the Born Free roller. It is looking pretty good. We had to heat up one of the seat posts and flatten it out to get a bit of clearance for the exhaust port, but we got it shoe horned in there.


This is a copy of the 37 frame picture that I uploaded twice


I picked up some sheet metal and aluminum to make some bucks for the oil tank and the back sides of the born free tanks. Dan made the bucks, cut out the blanks, and I welded them up.


The buck for the oil tank top looked like a heart, so I used some red lay out dye and turned it into a month late valentine for Brittney, She was into it.


The edge of the buck has a 3/16ths radius on it so that the sheet metal ends up with a nice edge after it is formed. Notice how the radius edges are pie cut, these slots get welded up after forming.


Here they are all finished up


This is the inside of the left tank. It was made the same way.


In this picture you can see the lip that will slip into the tank. This makes for a very sturdy and rugged set up.

Here is the tank sitting on top of it.

Wednesday, March 14, 2012

36 and 37 pictures

This is Paul's 37 frame. This bike has been a complete bike for its whole life and has a lot of nice parts. It is an early frame, with an early 37 fork, which is the same as a 36 front end. The seat post broke into three parts and he rode it for a bit like that. I think that it must have really high centered a few times, I am not sure when, but it did get a little twisted up. The lower rails needed to be replaced and there is a bit of a twist on the exhaust side as well, It should be going to gether soon, This is the most twisted up back section of a frame that I have seen and it is nice to have something challenging to work on.

Check out the large hall mark, machined reliefs in the curved bar and the 7/8 head on crash bar. This is the same neck that was used on 36 els and through out some of the 37 year, I am not sure when they changed necks, if any of you reading this have some specific serial number cut offs it would be great to know.


Here is a picture of Doug's 36 next to a 1905 harley at the Eiteljorg museum They opened the exhibit on friday, I was in Daytona at a board meeting so I couldn't attend unfortunately. Doug said it was a great time.


Here is a cool picture of Jean Davidson and Mr. Doug. Late last year we went to Milwaukee and hung out with Jean's son and watched old family videos that her grand father Walter had shot during the 1928 to 1942 time period. It was really neat, there were a few shots of her as a baby.


This is the name card for the display bike.

Tuesday, March 13, 2012

florida, frames, motors and a cool strap tank


There is an awesome 08 single on ebay that my friend Lonnie built. It is sooo cool

http://cgi.ebay.com/ebaymotors/Rare-...item256e0d9f05


Here is a picture of the dangerous dog.


I got a big box of 36 to 40 muffler tips right before i left. I got them welded up and ready to go.


Here is Doug's new 39 frame. It needs some new bottom rails, seat post and sidecar loops. Dan worked on prepping it over the weekend and it should be going together this week along with a 37 frame.


Here is a nasty repair on the seat post. this is very common and pretty easy to fix, at least with the right tools...


The 40 frame is just about finished. I still have to weld the front tank mount, right foot board tab and oil tank bracket on.


This is Jim's 55 motor with the pushrods installed and ready to go. This is pretty sweet,


This is my friend Matt's 41, I got to ride it in Florida this weekend, it was a pretty gnarly bike. It won the Alabama state enduro in 1951. He bought it off of craigslist and tracked down the original owner. What a fun bike, Taking it for a spin was the high lightof my 3 day long trip to down south. I borrowed this picture off of the AMCA facebook page, go check it out if you have a facebook page, there are over 1500 pictures of neat old bikes on it and over a 11oo members. the url is http://www.facebook.com/#!/groups/111664952275098/


Wednesday, March 7, 2012

38 and 40 frame work

This is Bob's 40 frame, it was a pretty nice uncut frame, but the seat post was snapped in half and the bottom rails were crushed. After sandblasting i noticed that the left down tube had a poor repair done to it a long long time ago, so I chopped it off.

Here it is mounted up in the jig. The seat post is just slid over the slug


here it is with the new tubes in and most of the welding done to it. I have to take it out and get into a few tight spots, then metal finish and put the foot board tabs, oil tank bracket and bottom tank mount on.


Here is Gareth's 38 frame, This was an original paint frame that was severely beaten, bruised and broken. We are making an old looking bike out of it, so I left as much of the old paint on it as I could. I had to shine it up in a few spots where I was welding though. These are all the slugs and tubes that will be added in to make the frame one piece again.


This is Gareth's motor transmission mount, we set up the angle plate on the Bridgeport and bore these out. There is a huge variance in height between the top of the transmission mount and the top of the motor mount, the distance between the holes is different from casting to casting too. HD did not hold these dimensions very well, which forces you into having a flexible set up for boring them out. My dad leaves about .010 in each casting to hand sand out, which insures a tight fit on the final product. This is a picture of Gareth's mount after it had the extra .010 taken out of it to fit on the 1.500 seat post. Notice the large hallmark which was used through some of 39


Here are some of the other motor and transmission mounts that my dad bored out while he was at it.


Here is the hardtail bolted in the jig,


Seat post and motor mount, this part gets a little tricky, up above I mentioned that there were slight variances in motor pad to transmission pad height, so you have to shim accordingly to make sure that the back motor mount doesn't tilt at an angle. The entire motor mount slides front to back on key stock to accommodate for the variances in distances.


front motor mount installed


here it is with most of the tubes in and welded.


All glued back together!!!


And the finished product. I put a 46 el motor in to check the front mount height and it had no gap on the left front mount and needed a .005 shim on the right. The paint held up pretty well too I still have to weld on the lower fender mount and tool box bracket and do a little bit of grinding and texturing. I also have to rust it up and put some black enamel on it